[et_pb_section fb_built = »1 ″ admin_label =» section »_builder_version =» 3.0.47 ″] [et_pb_row admin_label = »row» _builder_version = »3.0.47 ″ background_size =» initial »background_position =» top_left »background_repeat =» repeat »_i = »0 ″ _address =» 0.0 ″] [et_pb_column type = »4_4 ″ _builder_version =» 3.0.47 ″ parallax = »off» parallax_method = »on»] [et_pb_text admin_label = »Text» _builder_version = »3.0.47 ″ background_size = »Initial» background_position = »top_left» background_repeat = »repeat» _i = »0 ″ _address =» 0.0.0.0 ″]
Hello caravaners!
Today we are going to see how we should act on the road in case of suffering a puncture in one of our wheels, whether we have to change the wheel of the car or that of the caravan or motorhome.
First of all, and before seeing how a wheel on our vehicle is changed, it is essential that we keep in mind that the first step to avoid suffering any type of accident at the wheel is prevention. It is important to take our car and caravan to workshop to check that everything works perfectly before embarking on the trip.
On the other hand, you can always get hold of some good tips for safe driving. All good advice is welcome as long as it comes to driving safely: distribute the load well, take a nap before to stay wide awake behind the wheel or carry entertainment for the little ones do not make a big fuss during the trip.
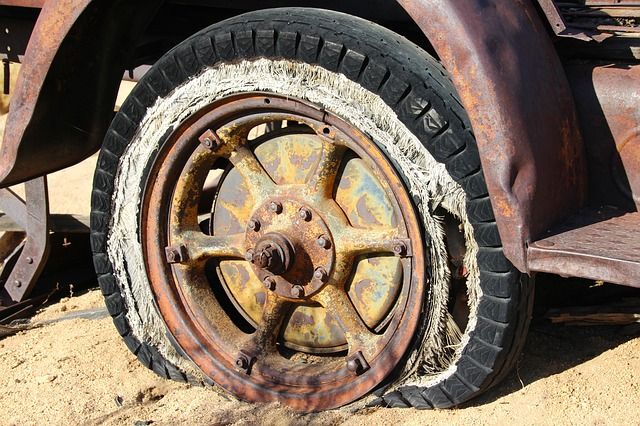
But even if we have all the precautions in the world, something unexpected can always happen and that one of our wheels will tear or puncture and you will have to change it. Well, let's see how.
Step by step to change a wheel with your caravan
Before seeing what are the steps to change a wheel there is an essential basic: have a spare wheel. It may seem obvious to you, but we have not seen just one or two but many customers who have decided to remove their spare wheels from the caravan or motorhome because it took up a lot of space. From Comercial Caravaning we completely discourage this practice because eliminating elements that guarantee our physical integrity is never a good decision. Therefore, we assume that you have the wheel in the caravan.
The steps to change a motorhome wheel are practically the same as those that we would follow to change a normal car wheel.
#1. Step one: safety
If you have a flat tire, the first thing you should do is keep calm and stop the vehicle in a safe place. Stick as much as you can to the shoulder if you can't get to any service road where you can avoid the passage of other cars, trucks and others.
As indicated in the Highway Code, you must place one triangle in front and one behind at 50 meters away. We insist at this point that it is VERY IMPORTANT that you really place them at 50 meters. This distance is not because yes, but because if you place the triangle at 50 meters it will be visible at 100 meters, a distance that the vehicle coming from behind allows it to maneuver without danger to be more careful with you, who are stopped.
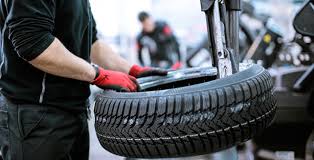
#2. Step two: get to work
With the reflective vest on (while you are placing the triangles as well), take the tools and get out of the car or motorhome. You will need the cat, the key and patience if it is your first time. We recommend that, before placing the jack to raise the vehicle, you loosen the bolts of the wheel in question. You'll appreciate it later.
Also remove the hubcap from the wheel and put it in a safe place. In case you have wheels with rims, do not forget that you must have a wrench that will loosen the anti-theft screw if it has one.
#3. Third step: we lift the vehicle
Place the jack and start to lift the vehicle with it. The idea is that that part of the car or caravan remains in the air in order to remove the punctured wheel and fit the new one. Once at the top, remove all the nuts (be careful not to lose them!) And remove the wheel by pulling it slowly.
TIP: Place the broken wheel under the jack so that in the event of a jack failure the car will crash onto the wheel and not onto the ground.
#4. Step four: new wheel
Fit the new wheel by snapping the nut holes into place. Then, put in the screws and tighten them slightly, without leaving them completely tight. Once this is done, you see lowering the vehicle little by little with the jack until the wheel comes to rest on the ground as it was in step one.
#5. Fifth step: press and go
Well, now that we have the new wheel on and the car or caravan on the ground, we can only tighten the screws as much as possible. With the key, you see tightening one by one but ALWAYS in the shape of a cross.

Last tip: important
The last piece of advice we want to give you is that, if you have the option, don't do any of the above five steps. If you have a roadside assistance service with your insurance, we always recommend calling the professionals so that the final result is perfect and avoiding endangering ourselves.
If you have any questions, leave us a comment below.
[/ et_pb_text] [/ et_pb_column] [/ et_pb_row] [/ et_pb_section]